Blue Light Therapy After Care Doesn’t Have to Be Complicated
Dr.Idriss
Blue Light Therapy After Care Isn’t Complicated
So, you’ve got the device or maybe it’s sitting in your cart – but how do you actually use it in a way that works for your skin? When it comes to LED facial treatments, it’s not just about turning on the light. Timing, technique, and especially blue light therapy after care can make or break your results.
Whether you’re managing active breakouts or aiming to reduce oil and inflammation long term, this guide walks you through every step – from how often to use it, where to aim it, what to pair it with (and avoid), and how to care for your skin after each session.
Key Takeaways:
- Get a realistic schedule and treatment zones for clearer skin
- Learn which skincare ingredients help – or hurt – your results
- Master post-session care for healthy, balanced skin
- Use a full 24-hour aftercare flow for optimal healing and glow
Let’s take your light therapy from guesswork to glow-up.
You don’t need another gadget.
you need a plan that makes your gadgets work.
Est.
37 $
The Structured Skin Device Framework
Maybe you’ve already dropped $1,000s on gadgets, or maybe you’re still spiraling through
“best LED device routine” searches at 2 a.m. :’)
Regardless, this guide brings order to the chaos.
Because good skin isn’t about owning every tool, it’s about knowing how to use them right.
Because a plan always outperforms impulse.
Making Blue Light Therapy Work in Your Routine: Smart, Skin-Safe Strategies
So, you’ve got the device, or you’re eyeing one, but how exactly does blue light therapy fit into your skincare routine?
Whether you’re treating active breakouts or aiming for long-term balance, timing, technique, and aftercare all matter more than you think.
Let’s break it down into real, skin-friendly steps.
How Often and Where to Use It – A Realistic Schedule (and Target Zones)
Think of led facial treatments like a workout routine: consistency wins over intensity.
For most people, starting with 2–3 sessions per week works well. As your skin adjusts and if you’re treating active breakouts, you can ramp up to daily use – as long as your skin tolerates it. For ongoing maintenance, 3–5 times weekly tends to keep oil and congestion under control.
Where you use it matters, too:
- Target your T-zone (forehead, nose, chin) if oil and blackheads are your main concern.
- Focus on the jawline for hormonal acne or maskne.
- For inflamed or scattered breakouts, the cheeks, shoulders, chest, and upper back respond well to wearable or panel-style LED devices.
Some studies also suggest combining targeted spot therapy (like wand-style tools) with diffuse application (masks or panels) for layered benefits:
“When lesion-targeting wands were paired with full-face phototherapy, subjects showed improved comedone reduction and less recurrence of pustules in maintenance phases.”
Skincare Syncing – Ingredients That Amplify or Undermine Blue Light Benefits
Pairing the right skincare with your led facial treatments makes a huge difference – and can determine whether you get glow or irritation.
Here’s what to use after your session:
- Niacinamide: calming, sebum-regulating, and supports barrier repair.
- Panthenol or hyaluronic acid: hydration boosters that pair beautifully with LED recovery.
- Gentle exfoliants, like PHAs or enzyme-based options, once or twice a week.
And what to skip before treatment:
- Benzoyl peroxide can degrade under light and increase irritation.
- AHAs/BHAs and retinoids should be used on non-treatment days, as they may sensitize skin and disrupt barrier recovery post-LED exposure.
One LED skin protocol puts it simply:
“Avoid pre-treatment with exfoliants or oxidizing agents, which may alter skin photoreactivity or increase post-treatment dryness in light-exposed zones.”
— LED Light in Epidermis Hyperpigmentation, 2021
Blue Light Therapy After Care – What to Do Once the Light Turns Off
Here’s the part many people skip – but shouldn’t. What you do after your session defines whether you heal stronger or trigger setbacks. This is where blue light therapy after care matters most.
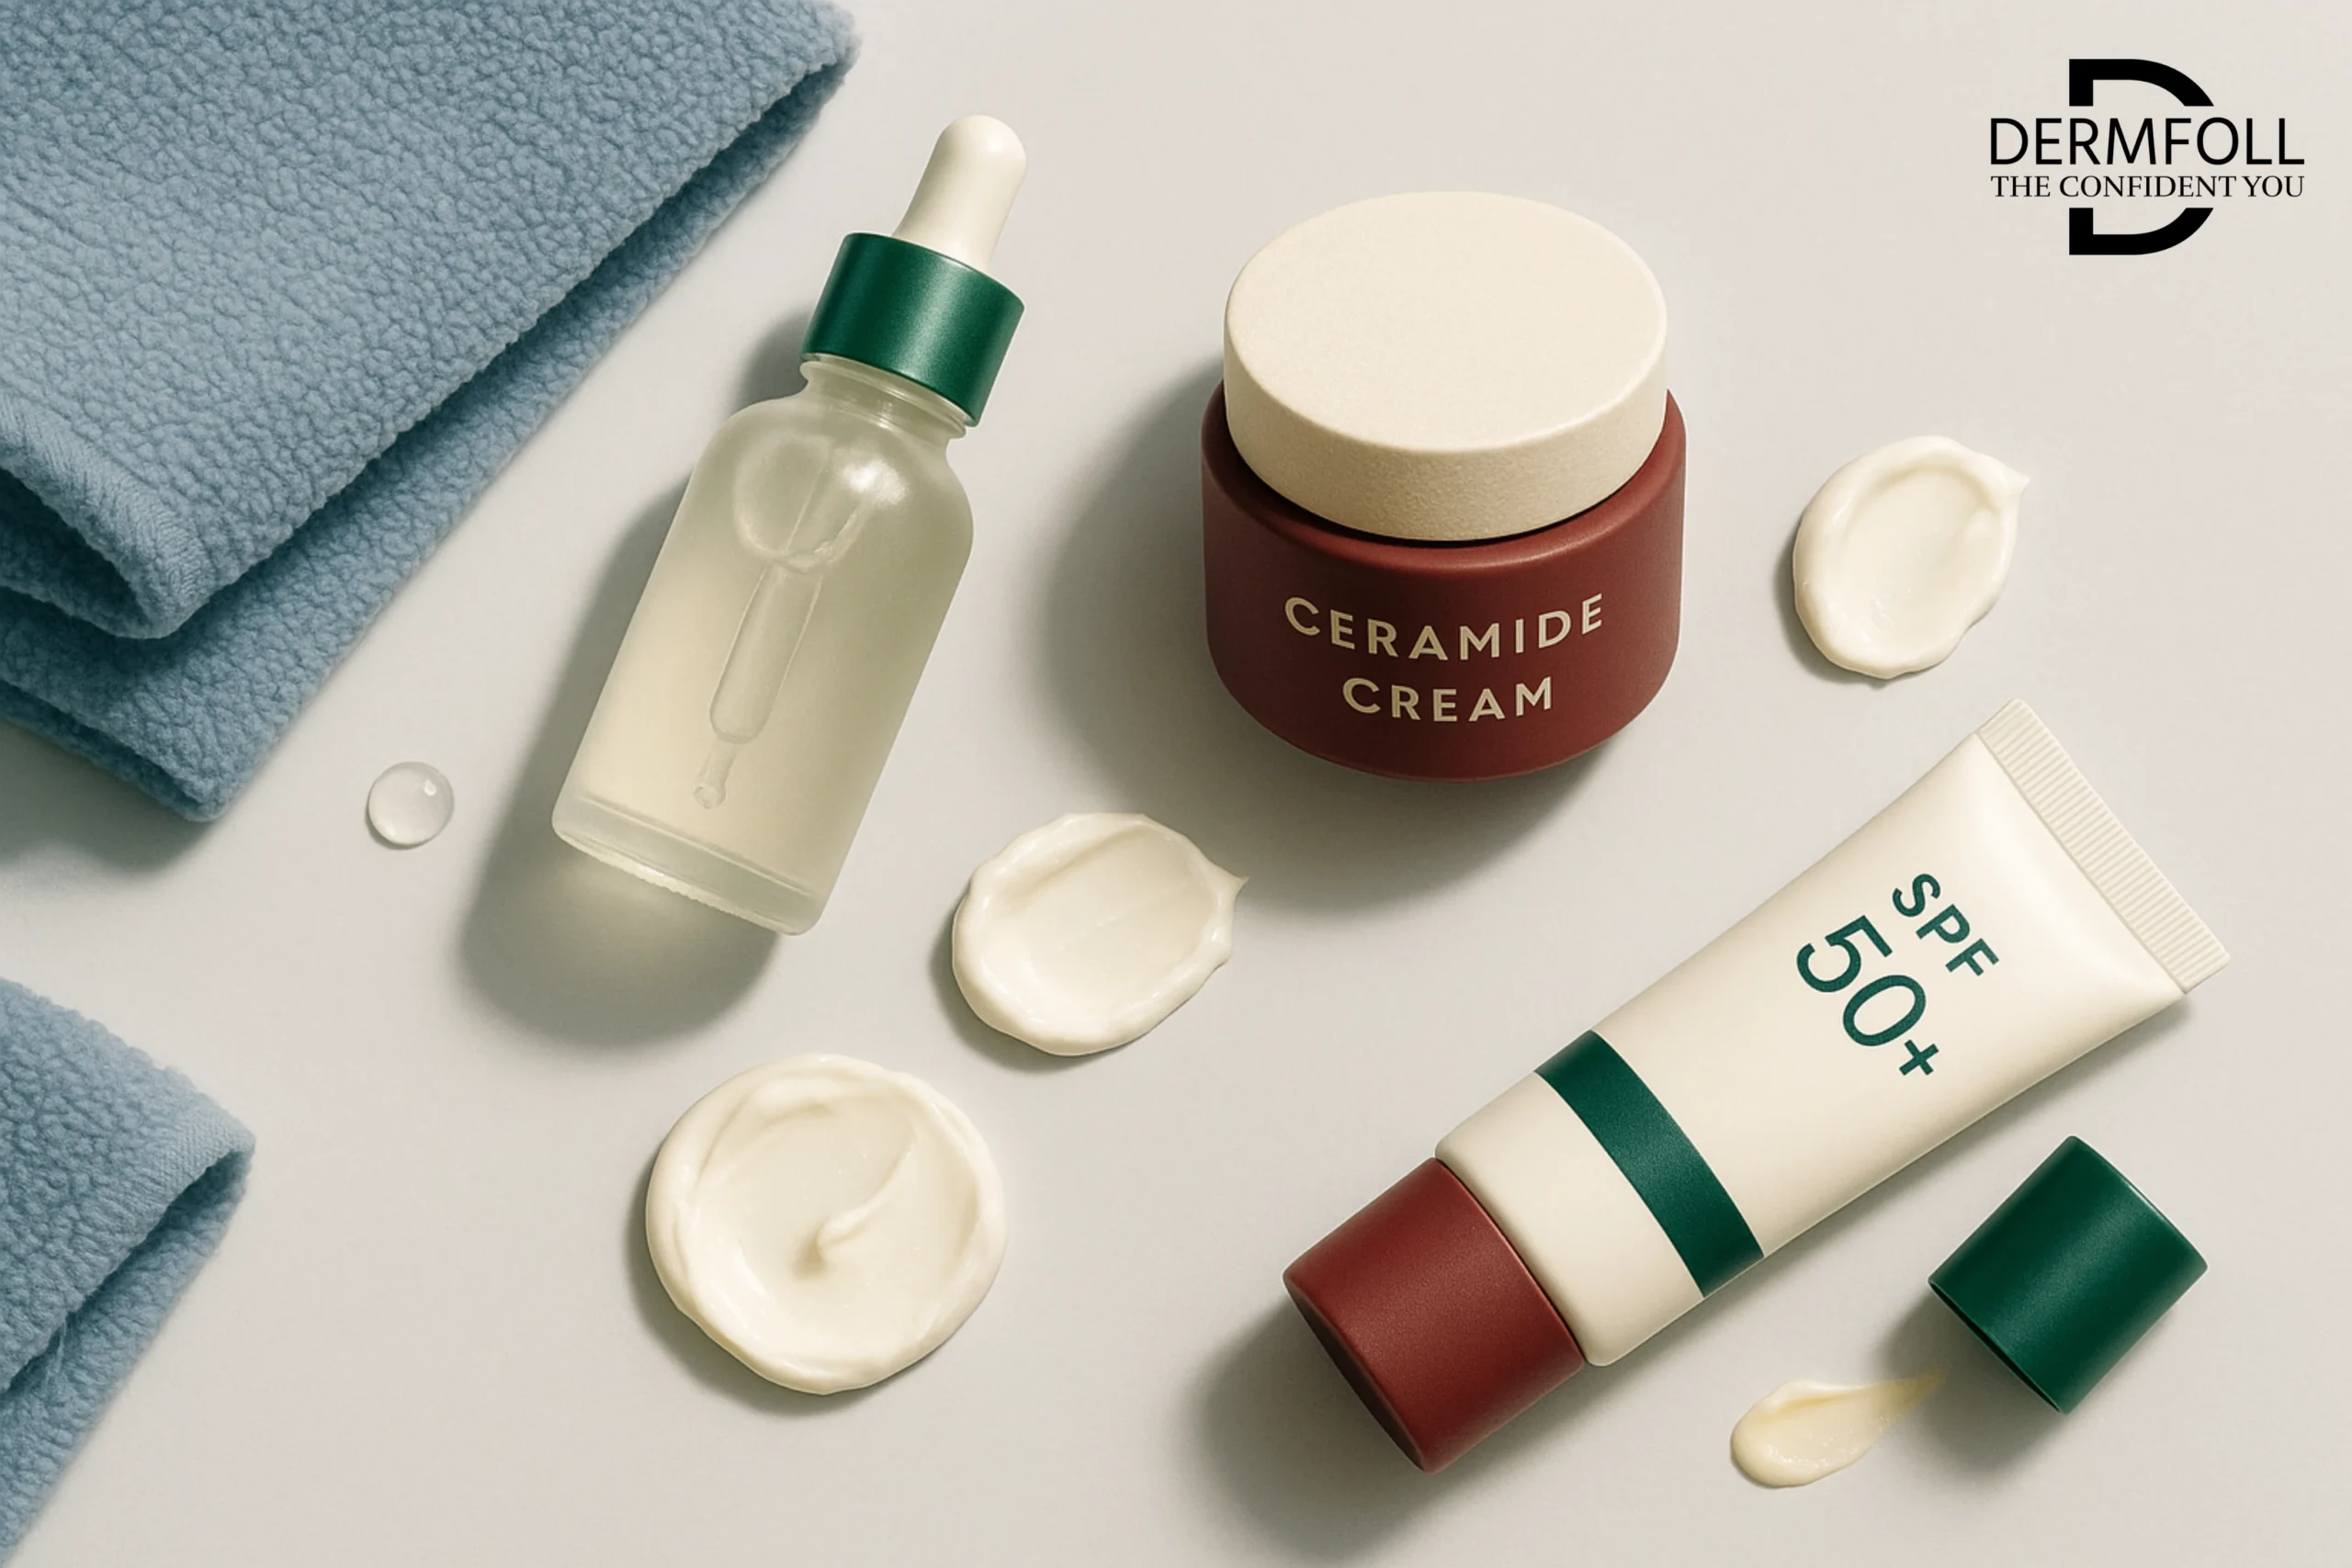
Immediately post-treatment, apply:
- A ceramide-rich or peptide moisturizer to help rebuild and soothe your barrier.
- A broad-spectrum SPF 30 or higher – yes, even if you’re staying indoors. Blue light doesn’t sensitize like UV, but newly treated skin can still be vulnerable to sun-triggered pigmentation, especially in Fitzpatrick IV–VI.
One study on at-home phototherapy protocols noted:
“Daily SPF use was essential in reducing post-inflammatory pigment changes, especially in users of high-output devices or those treating darker skin tones.”
— A Single-Blind, Dose Escalation, Phase I Study, 2022
Treat your LED time like skin therapy, not just another gadget session. And trust that building a thoughtful aftercare routine is what truly unlocks your results.
Your Complete Blue Light Session Guide: From First Step to 24-Hour Aftercare
Here’s a guided flow that takes you through everything: from what to do before your session, to how to treat your skin hours after.
Let’s walk through it step by step.
✅ Step 1: Prep Like a Pro (10 Minutes Before Your Session)
Before you even turn on your device, let’s make sure your skin is ready.
- Cleanse gently using a mild, non-active cleanser—something that won’t strip or tingle. Your skin should feel clean, not tight.
- Skip the extras. No toners, no serums, no oils, and definitely no makeup or sunscreen. We want a clean, dry canvas so the light can penetrate properly.
- Let skin dry completely. Any residual moisture or product can interfere with how evenly the light is absorbed.
✅ Step 2: Power On and Target Smartly (During the Session: 10–20 Minutes)
Here’s where the magic happens. Stay still, breathe, and treat with intention.
- Use your LED device as directed—masks usually run 10–15 minutes, spot wands around 3–5 minutes per zone.
- Target areas thoughtfully:
- T-zone for oil and blackheads
- Jawline for hormonal or stress-related acne
- Cheeks for redness or inflammation
- Don’t forget body zones: shoulders, chest, back respond especially well to panel-style led facial treatments
- Sit somewhere comfortable where you won’t have to squint or fidget. This is your moment to let the light do the work.
How long to use blue light therapy on face?
Most blue light therapy sessions for the face last 10 to 20 minutes, depending on your device. Mask-style and panel devices typically run 10–15 minutes, while spot treatments may require 3–5 minutes per area. Always follow your device’s recommended usage guidelines to avoid overexposure.
✅ Step 3: Calm and Nourish (Immediately After: 0–30 Minutes Post-Session)
Now that your skin has soaked in the light, we want to hydrate, protect, and rebuild the barrier.
- Start with a hydrating serum – hyaluronic acid or panthenol work well here.
- Follow up with a ceramide-rich moisturizer to help seal in moisture and start soothing any minor heat or dryness.
- If it’s daytime, apply SPF 30+ – even if you’re indoors. Freshly treated skin is more photosensitive and prone to rebound pigmentation.
🖊️ Step 3.5: Take a Moment to Track Your Skin
This step is optional – but super helpful if you want to see results over time.
- After each session, jot down a few quick notes: Was your skin red? Calm? Dry? Did any new blemishes appear or improve?
- Snap a photo if you’re doing weekly comparisons.
- Include product changes or cycle-related notes that might affect your skin.
Tracking even small changes can help you and also your Dermatologist understand what’s working and catch early signs of irritation or improvement. And let’s be honest – seeing that progress written down? Very satisfying.
🕒 Step 4: 1 Hour Later – Keep Things Simple
Your skin is still adjusting, so don’t throw too much at it.
- No makeup yet. Let your skin rest and breathe.
- Avoid heat and sweat. No workouts, steam rooms, or long hot showers for at least an hour.
- No actives yet. Skip anything exfoliating, tightening, or tingly (yes, even your beloved vitamin C).
Think of this hour as quiet time for your skin—it’s recovering under the radar.
🕒 Step 5: The Next 24 Hours – Gentle, Safe, and Sun-Smart
By now, your skin should feel calm and balanced—but it’s still in a delicate phase.
- Stick to soothing, minimal skincare: think hydrating toners, barrier creams, or even just your favorite moisturizer.
- Keep SPF on hand and reapply if you’re outside or near bright indoor lighting.
- Still hold off on retinoids, acids, or peels for a full 24 hours to avoid disrupting the healing rhythm.
- If you notice any delayed redness or pigmentation, apply a cool compress and pause your next session.
Final Thought:
The beauty of led facial treatments is that they give back what your skin actually needs – without the harsh side effects. But like any smart therapy, it shines brightest when paired with intentional blue light therapy after care.
Give your skin the prep, patience, and protection it deserves – and the results will speak for themselves.
CONCLUSION
So now you’ve got the full picture – not just how to use your LED facial treatments, but how to support your skin before, during, and after every session. We explored how consistency matters more than intensity, why ingredient syncing makes a real difference, and how thoughtful blue light therapy after care can make or break your results.
You’ve also got a full 24-hour playbook for treating your skin with care and intention – because great skin isn’t about doing more, it’s about doing it smarter.
And next? We’re clearing the air.
In the upcoming post, we’ll break down some of the most common blue light therapy myths, from safety worries, skin tone concerns and especially recovery times to wild marketing claims – and separate the facts from the fiction.
Because when it comes to skincare tech, the truth is the best glow-up.